TUTORIAL
In this video we will show you how to apply our Lithoprotect® self-adhesive yellow foil to glass and window surfaces.
01
PREPARATION
For a successful installation we recommend the following Lithoprotect® articles:
TIP: Before installing our UV-Yellow Foil over a large area, please do a small test application to test the processing and the adhesive strength of the film on your surface.
NOTE: Our Lithoprotect® UV-Yellow Foil YSA 520 is intended for indoor use. We do not recommend
installation on the outside of the building.
02
WINDOW CLEANING
Use a glass scraper or razor blade to remove all solid dirt from the glass. Now clean again the (windows) surface with the Lithoprotect® mounting fluid DX MF 301 to remove remnants of glass cleaner. Then dry the corners and edges with lint-free cloths. The glass surface must be absolutely free from silicone, be free of grease and dust.
03
FOIL CUTTING
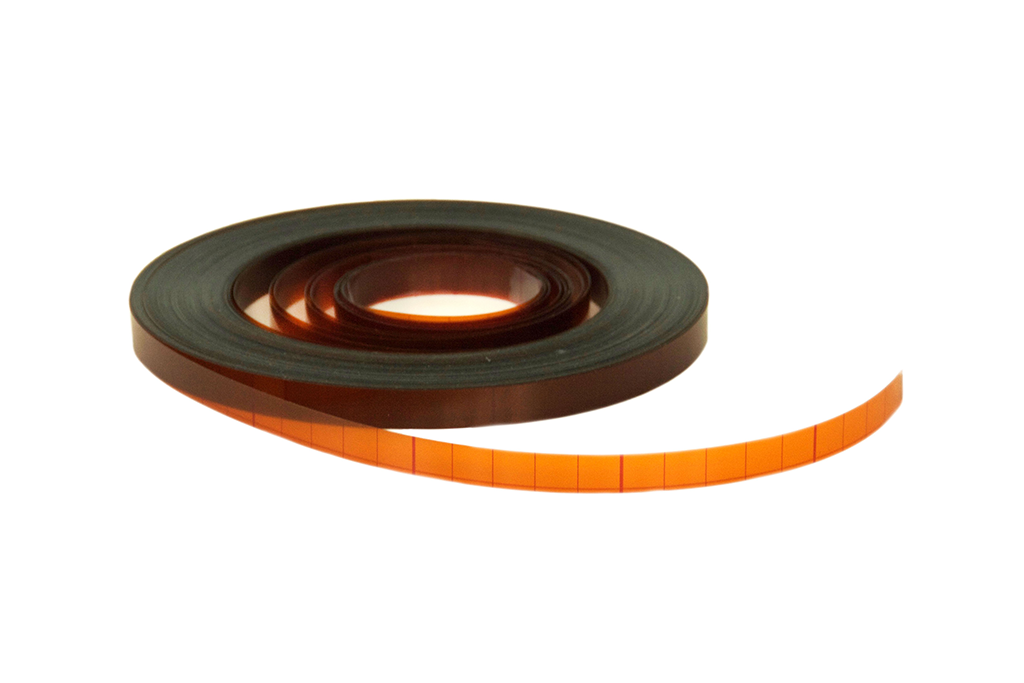
Measure the desired surface exactly. Subtract 1-2 mm from the width and length so that the piece of Lithoprotect® UV-Yellow Foil is smaller than the surface to be covered when you apply the foil later. Now transfer the measurements to the foil and cut it to size. The red check pattern on the back of the foil helps to provide a rectangular orientation of the cut. After cutting, check by placing the foil on the surface to be covered whether the yellowfoil is 1-2 mm smaller all around than the area to be covered.
04
APPLAYING MOUNTING FLUID DX MF 301
Spray the cleaned and still dry side of the pane very lightly and evenly from bottom to top with the Lithoprotect® mounting fluid DX MF 301. The glass should only be slightly damp, not dripping wet. Immediately before applying the Lithoprotect® UV-Yellow Foil, the pane can be moistened again.
05
PROTECTIVE FOIL REMOVAL
Now remove the red checkered protective foil covering the adhesive surface of the Lithoprotect® UV-Yellow Foil by attaching two "Scotch" strips on the upper outer corners of the foil.
NOTE: Please do not touch the adhesive surface directly with your fingers. Fingerprints caused by this will remain visible in the adhesive after installation. The adhesive tape strips allow you to hold the foil and position it precisely.
Hold the slide above at the two corners, while a second person withdraws the protective foil from a corner. Do not touch the dry adhesive side with your fingers. Be careful that neither lint nor dust attaches onto the adhesive surface.
TIP: If it is necessary to touch the foil directly, we recommend moistening both the adhesive surface at the contact points and the fingers with our Lithoprotect® mounting fluid DX MF 301 to reduce fingerprints.
06
APPLYING THE FOIL
Now place the adhesive surface of the Lithoprotect® UV-Yellow Foil exactly on the damp pane surface. When applying the foil, avoid air bubbles between the foil and the window pane. Due to the foil of moisture between the foil and the window pane, the position of the foil can be carefully corrected again before pressing it on.
NOTE: Please only attach the Lithoprotect® UV-Yellow Foil YSA 520 indoors. We advise against mounting
on the outside of the building.
07
SQUEEZING OUT THE MOUNTING FLUID DX MF 301
Now carefully press the Lithoprotect® UV-Yellow Foil with the felt edge of the Lithoprotect®
squeegee DX RA 100 onto the center of the window. Hereby, proceed as follows: Move from the center starting up, then to the left and right continuously up until all moisture is squeezed out of the foil, and no air bubbles or wrinkles remain. If air bubbles are visible after applying the foil, push them to the edge of the foil with the felt edge while squeegeeing so that they can escape. Squeegee until all air bubbles and the foil of mounting fluid under the UV-foil are pressed out.
Once the foil has been pressed on, it cannot be removed again.
Now wipe the edges of the foil dry and systematically press the foil down again with the felt edge of the Lithoprotect®
squeegee
DX RA 100. Squeegee the foil dry, without any installation fluid. Excessive moisture can severely reduce the adhesive strength of the foil. Always keep the reverse side of the foil dry!
In the first few days after installation, the yellow foil may still appear slightly milky or streaky. This is normal during the drying process and will disappear as the residual moisture evaporates through the foil.
ATTENTION: If possible, avoid applying the foil in extreme sunlight or frost. Please use only the felt edge of the Lithoprotect® squeegee DX RA 100 for pressing on, otherwise the foil may be scratched. The squeegee should be applied dry, without installation fluid.
08
MASKING OF EDGE CONNECTIONS AND BUTT EDGES WITH SEAM TAPE YST20
After the Lithoprotect® UV-Yellow Foil has been successfully bonded, there is a gap of 1 to 2 mm all around the foil to adjoining seals or components. The circumferential gap is now sealed with Lithoprotect® seam tape YST520.
Please dry the area to be taped before applying Lithoprotect® seam tape YST520.
After removing the protective foil from the adhesive side, the seam tape is now applied dry and overlapping onto the yellow foil and the seal or adjacent components. Please seal all areas that are still translucent with the Lithoprotect® seam tape YST520.
THE SOLUTION FOR OVER LARGE GLASS SURFACES
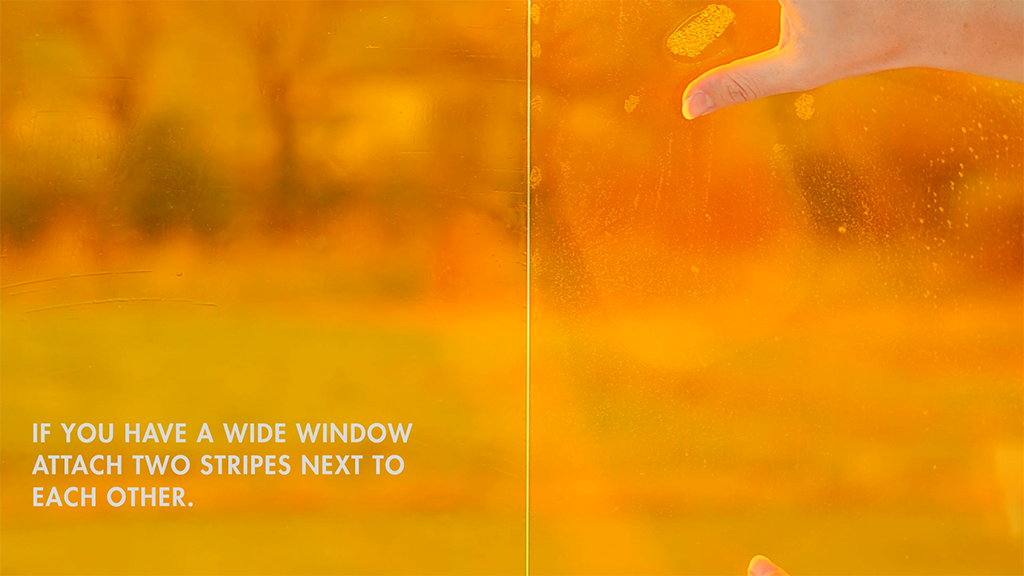
If the surface to be covered with Lithoprotect® seam tape YST520 is broader than the roll (which has a width of 115 cm), you can stitch two pieces of foil side by side and cover the abutting ends with our special Lithoprotect® seam tape YST520. With the Lithoprotect® seam tape YST520 you can be sure, that no UV light will tunnel into your room. This Lithoprotect® seam tape YST520 you can use as well for covering the edges between the foil and the window frame.


